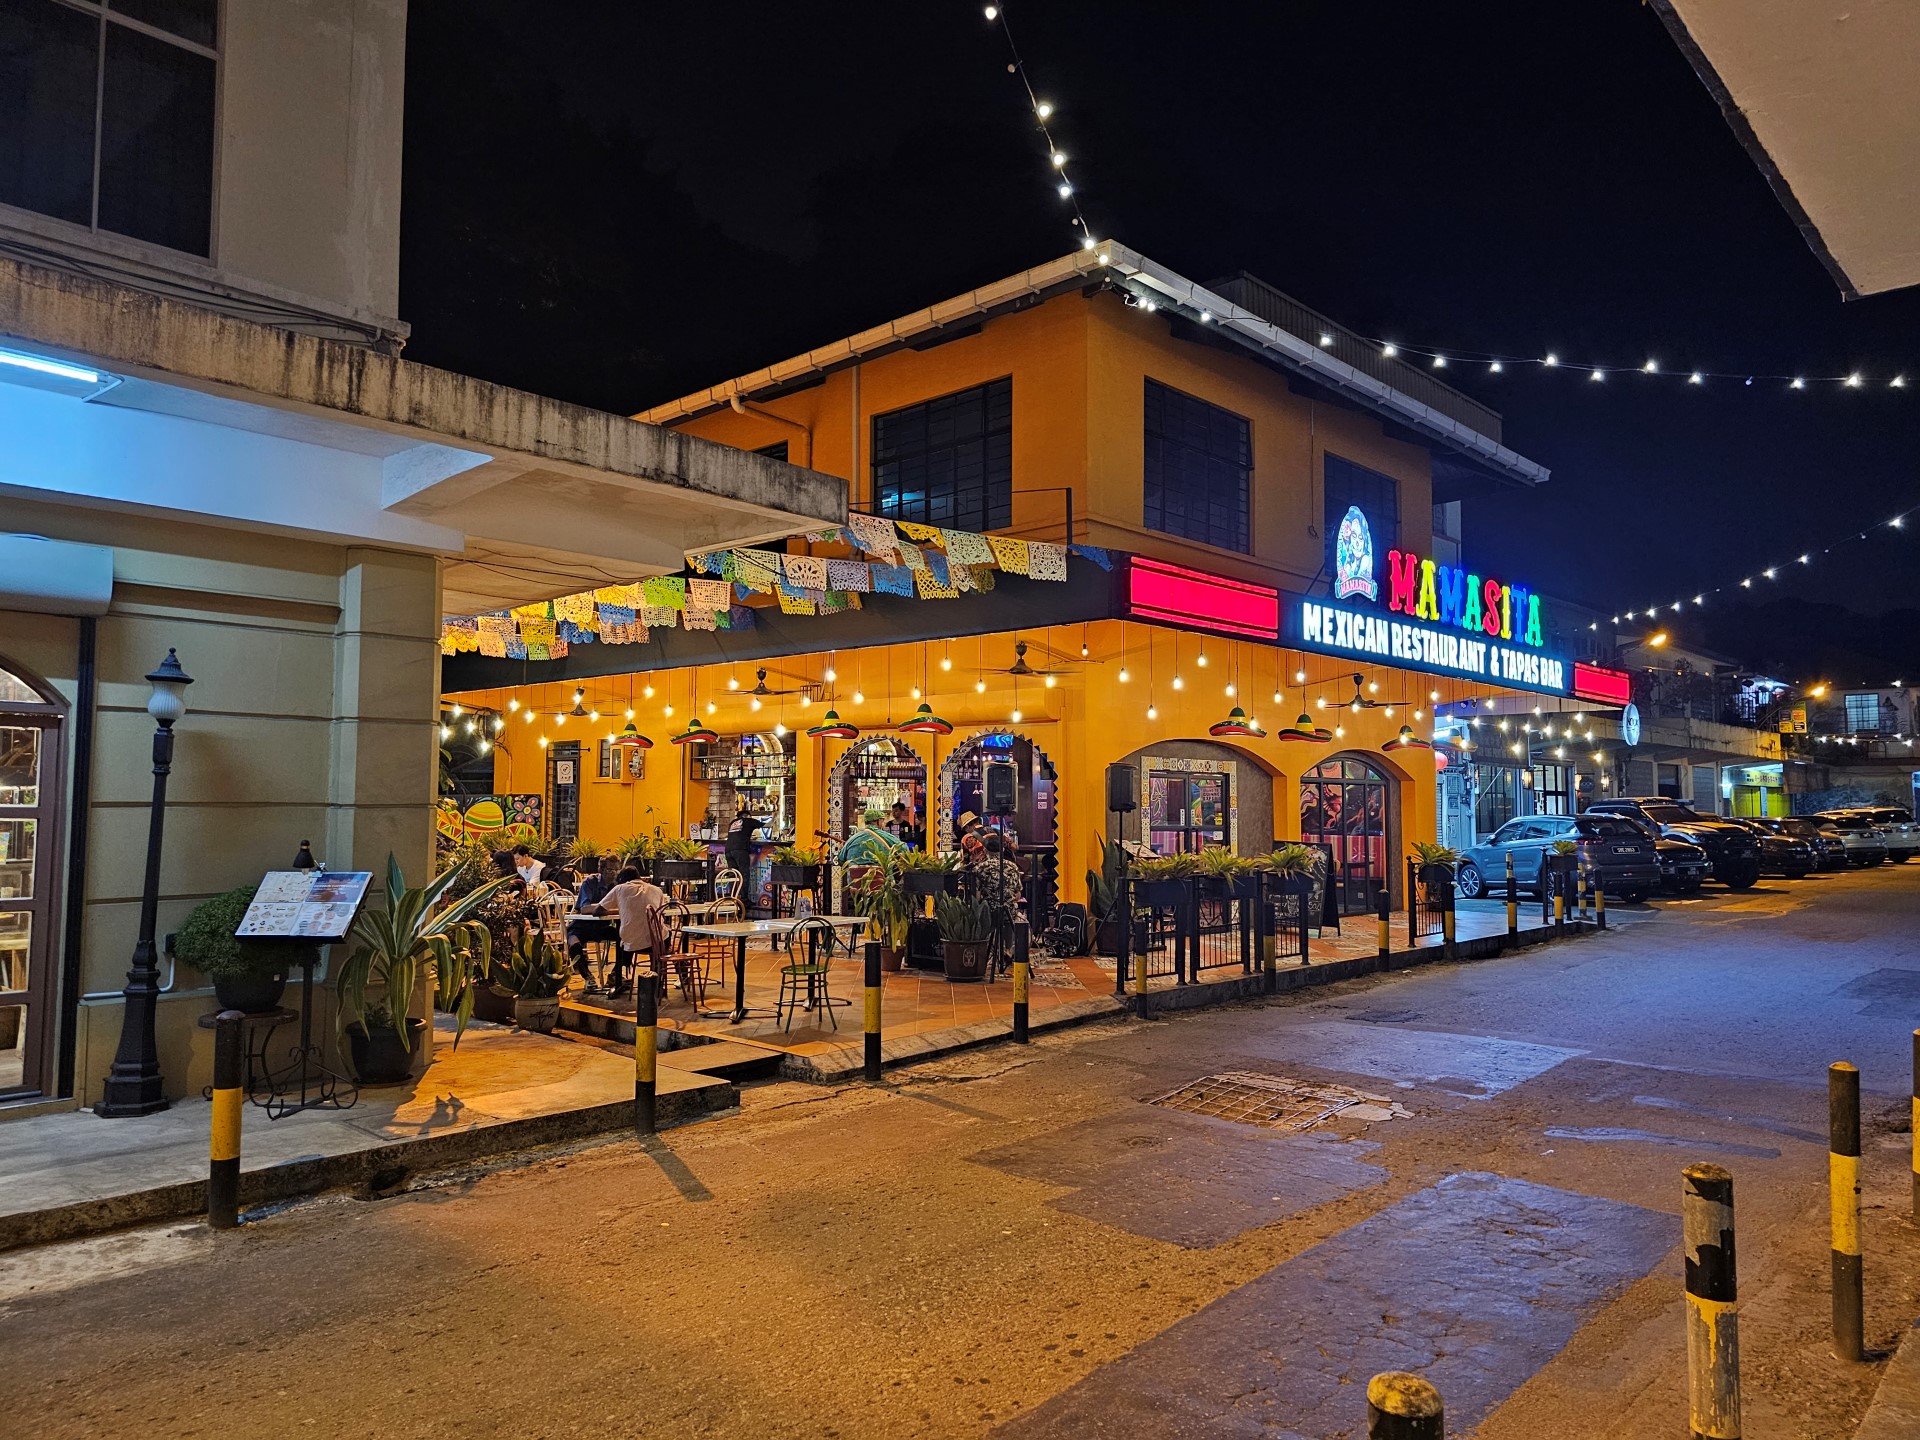
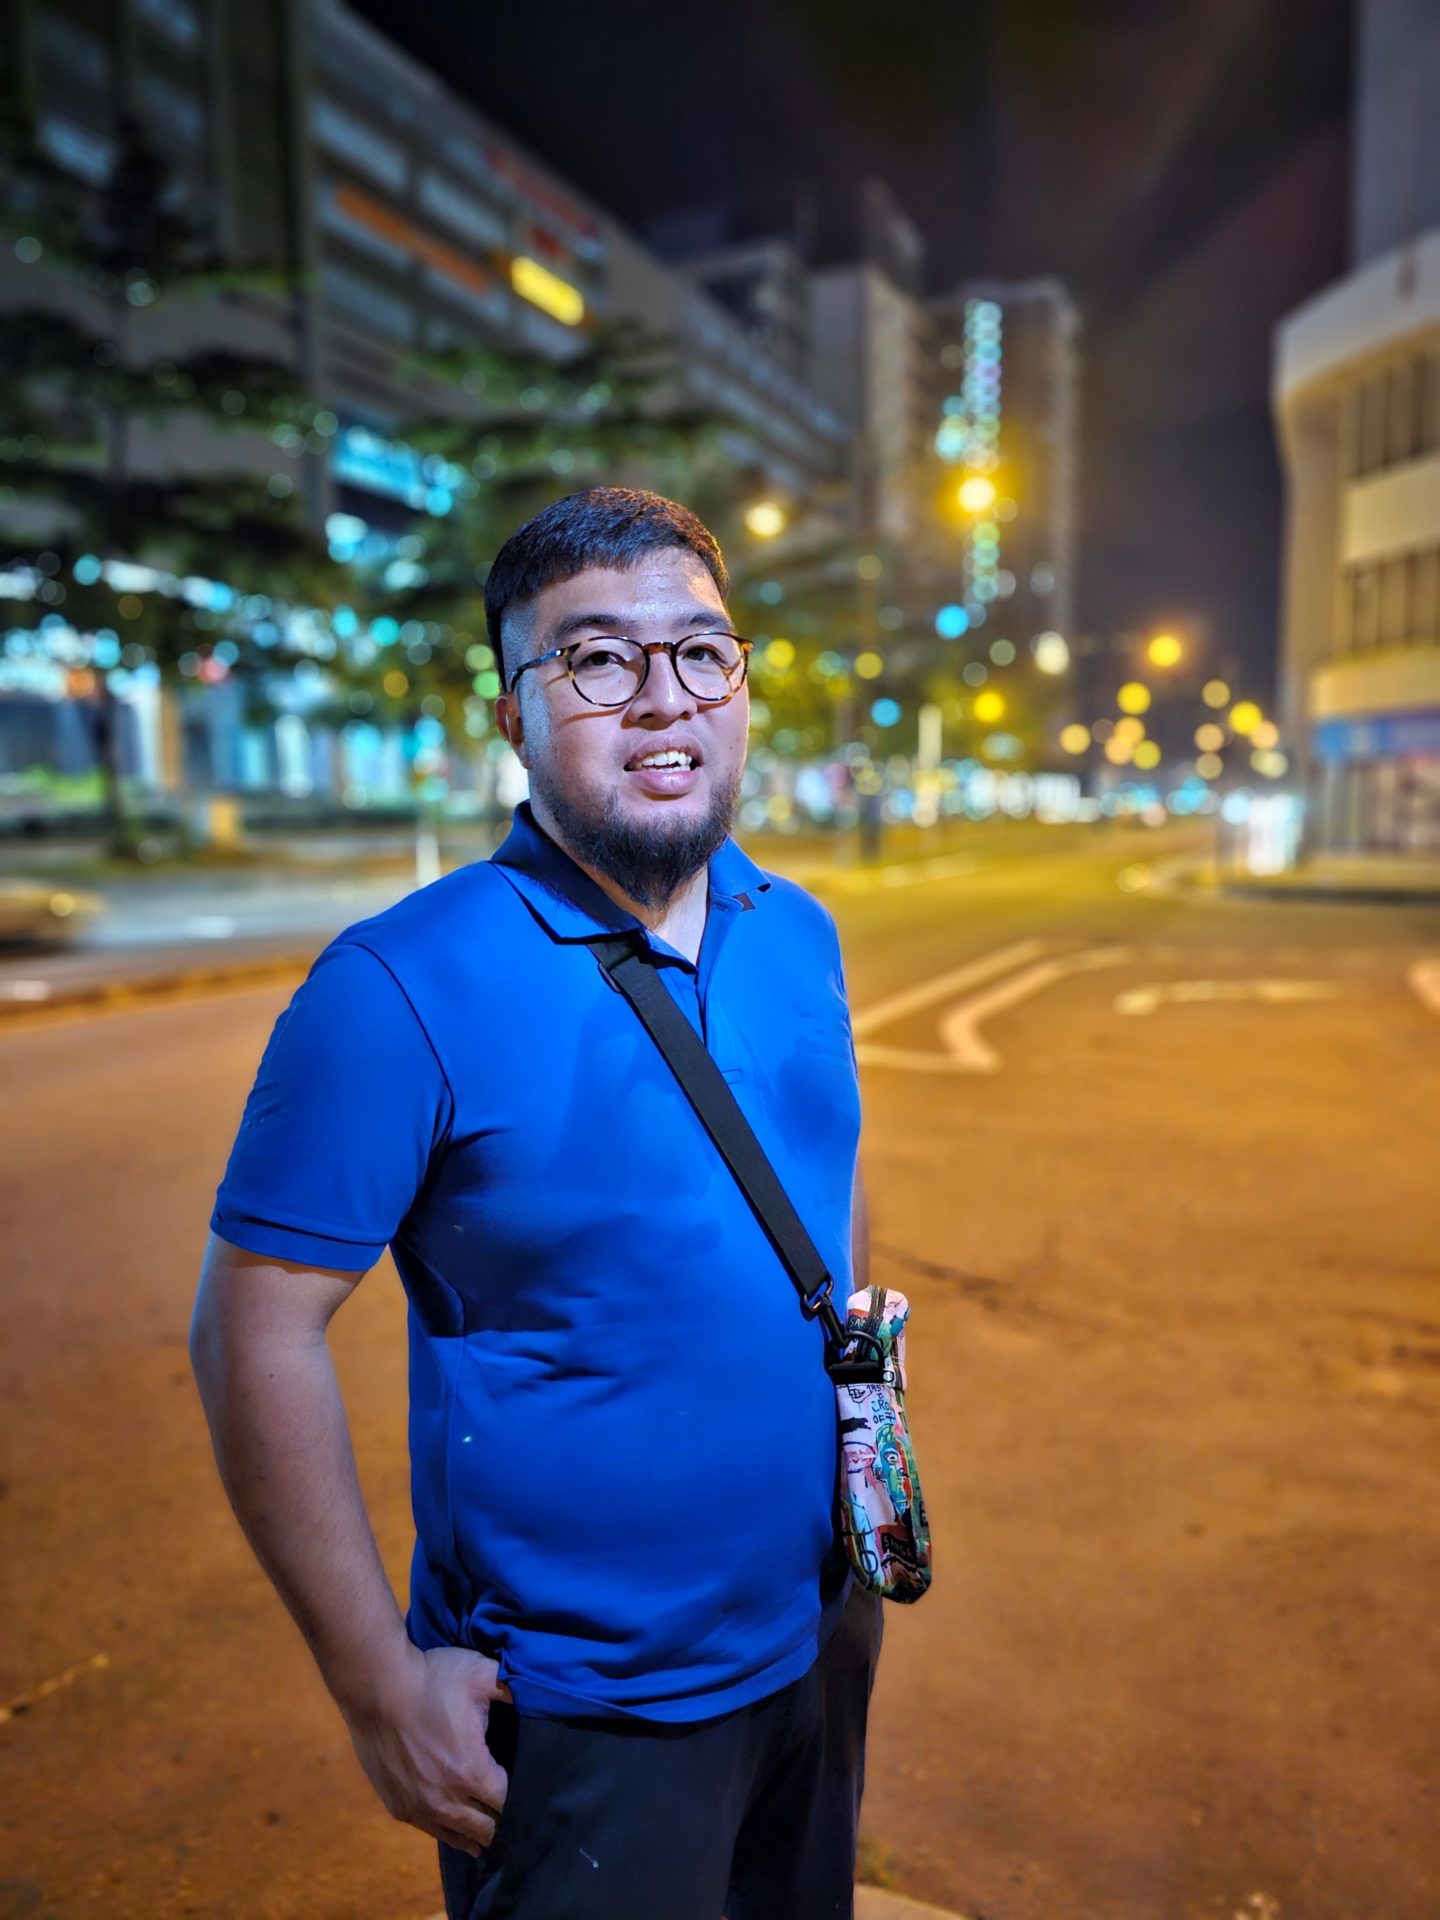
Much has already been said by industry experts, professional reviewers, photographers, social media influencers, and even casual fans about how the camera in the Samsung Galaxy S23 Ultra is good. Some even say it’s really good.
In my previous article, I confessed how I am merely starting on my photography journey and with the power of the cameras in the S23 Ultra, I feel motivated to embark on this journey perhaps more comfortably. But stopping short of just taking a few shots with the standard Photo Mode, the S23 Ultra gives more power to its users with other modes that encourage experimentation and creativity and that was what piqued my interest. With that being said, I wanted to look into and learn about the Pro Mode in the S23 Ultra, how it is different from the standard Photo Mode, and how I ended up finding so much more afterwards. So, I enlisted the help of two individuals who happen to be photography aficionados to educate me on the differences in each mode and also how it is different or similar in their own journeys.

First comes understanding the differences between the standard Photo Mode, what it afforded me as well as what more I am able to do by switching to the Pro Mode. The standard Photo Mode allows me to snap any photos on the fly using the default 12MP setting or if I want better quality photos I can bump it up to 50MP or the max 200MP to capture as much detail as possible in every shot. I can just tap on the screen so the camera focuses on what I need it to and the camera basically does all the heavy lifting with the internal processing power to capture an immaculate image. So, the only thing I would need to do would just focus on the composition of the shot and snap away.
Switching to the Pro Mode gave more access to things like ISO; which is tuning the camera’s sensitivity to light. Shutter speed; where the shutter closes faster or slower giving me the option to have a shorter or longer exposure to take as little or as much light in. Being able to focus manually as sometimes just tapping on the point of focus doesn’t really highlight the right focus in capturing the right shot especially when you are trying to be very specific or adjusting the white balance to adjust colours to match the lighting conditions.
Take this shot below as an example where I took one on an overhead bridge with the standard Photo Mode as opposed to the Pro Mode where I played around with the shutter speed so I am able to capture some light trails;


As you can see from both sets of photos above, the first shot takes everything beautifully and captures a ton of detail. The second shot is where the shutter speed was set to 4 seconds and manages to take some beautiful light trails from the cars passing below. As beautiful as it is there is some fine-tuning that I have yet to master. There is some fine detail lost as having a long exposure shot does capture more light resulting in the Petron Station looking overblown. But this also results in the shot looking brighter compared to the first one with the buildings and the night sky reflecting as such. The focus was hard to balance as even setting it manually I was never able to get it quite sharp enough without sacrificing something else.


But there is another vital advantage in being able to manually influence the shutter speed other than just taking beautiful light-trailing shots on an overhead bridge. That is when we need to take a photo of someone or something in motion. The typical Auto mode provides more than enough to take a beautiful shot, so long as they remain still. But when things start moving, there’d be the inevitable blurs either around the edges of the object or on the object/person itself. By putting the shutter speed to a higher number, the shutter snaps faster, ensuring anything/anyone in motion can be captured better. But there’s a challenge in doing this – by setting a higher shutter speed, we’d allow less light into the lens hence producing darker images. This is when the need to mess with the ISO arises – to enhance the camera sensitivity to light thus countering the dimming effects from the higher shutter speed. As seen from the images above this doesn’t necessarily result in better image quality but the subject you are trying to capture looks slightly sharper rather than a blur.


The colours, lighting, and sharpness in the first photo look so much more focused, vibrant and clear as compared to the second one taken in Pro Mode due to the processing of the phone doing a lot of heavy lifting to enhance the image even though both were taken at 50MP. The key difference was that I again was trying to manually set the point of focus on the whale in front of me but that resulted in the HSBC sign barely being legible.
However, when the area of focus is smaller with a background that’s less busy, the table is turned. For example, this shot of a Klee figurine is set in front of a black vinyl backdrop, receiving light only from a small LED tube. The shot taken in Auto mode tends to over-emphasise where the light touches and reflective surfaces are. Yes, you get a brighter-looking photo as a result but you’d be trading it off with colour accuracy and since the light bounces off so aggressively, there’s the uninvited attention popping out from the vinyl where the light reflects.


Compared to the one taken on Pro Mode, the light touches slightly just enough to illuminate the figurine but without invading too much on the edges or coming out too strongly from any reflective surfaces. The colour accuracy of the figurine is more realistic here and where dark areas need to be dark, they remain so without any unwanted influence. Here’s another example.


In this instance, the Auto mode just blanketed the entire figurine with light almost as if the figurine was a lighting absorber. Colour accuracy is almost non-existent and everything looked like they were different shades of red. In the Pro mode, on the other hand, the photo came out 90% close to perfection. Light touches and takes off without spreading too much, colour shades are clearly visible, and the whole picture looked studio worthy.
There are pros and cons to both modes and while no mode definitely triumphs over the other, it all depends on what shot you need to take and how you want the result to be. For simplicity and convenience, there’s the auto mode. But in some situations where you need more control and flexibility, you go for the Pro Mode. You will be surprised with how things turn out by just swapping around and experimenting with both the Auto and Pro mode.
For the average joe, just using the basic Photo Mode will most definitely get you some really great looking shots due to how the S23 Ultra does so much heavy lifting to enhance these photos to look so damn good even at night. But the benefit of having an existing Pro Mode ready for any user like me to tinker with is the education and learning process that it allows me to go through.


Having a conversation about photography with these two individuals was quite an eye-opener for me not just because of how much smartphone photography has evolved over the years, especially with the S23 Ultra’s power, but also because of how much more photography actually is. It’s a moment, a memory, a story, a message, a journey, and can be anything you want it to be. Spending money to get the best possible equipment to capture great shots is only part of the process. Finding out your style, the best composition, lighting, angles or even subject or multiple pieces of the puzzle that every individual must experiment with and discover on their own.
I always assumed that this was an expensive hobby that I couldn’t possibly get into unless I was already an enthusiast but a point of realization hit me because of exactly what they shared with me, something repeated by Chase Jarvis, a professional photographer; the best camera is the one that’s with you.
And with the Samsung Galaxy S23 Ultra, that’s exactly how I feel.


